Have ever wanted to create stunning emails for the Power Lead System?
Now You Can.
Hopefully this tutorial will guide you through the process.
STEP #1 – Creating a template using beefree.io that we will import into the Power Lead System.
This step will create the bones of the system and the we will import the code into the Power Lead System.
NOTE: I will not spend too much time on this section since you can get the tutorials on http://beefree.io
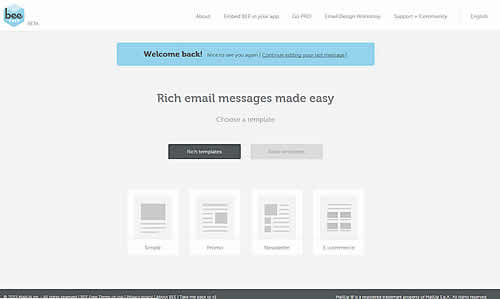
BeeFree’s home page.
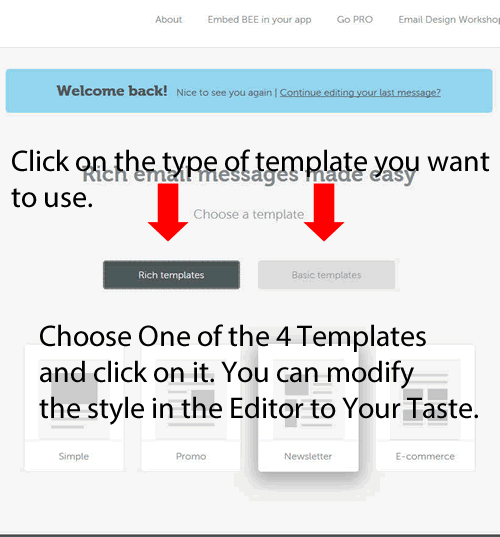
Click on the type of template you want to use either – Rich Templates or Basic Templates
Then click on one of the four styles that are on the page. You can edit these templates to your own taste and feel.
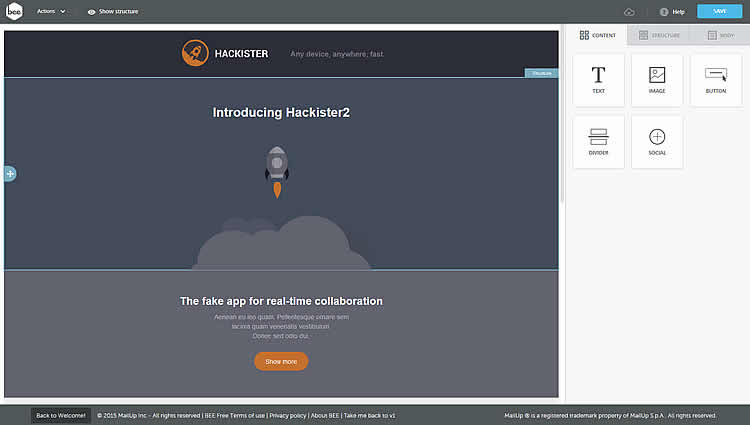
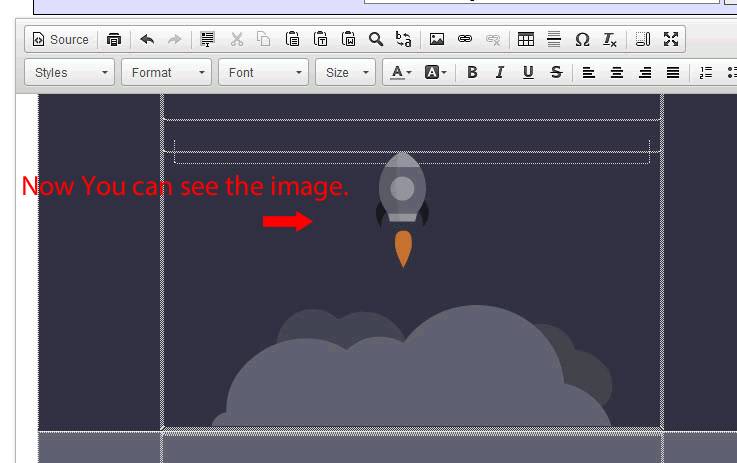
Below is an example of the editor that you will be using to create the template for the Power Lead System.
To change or edit and image plus to add or edit a hyperlink.

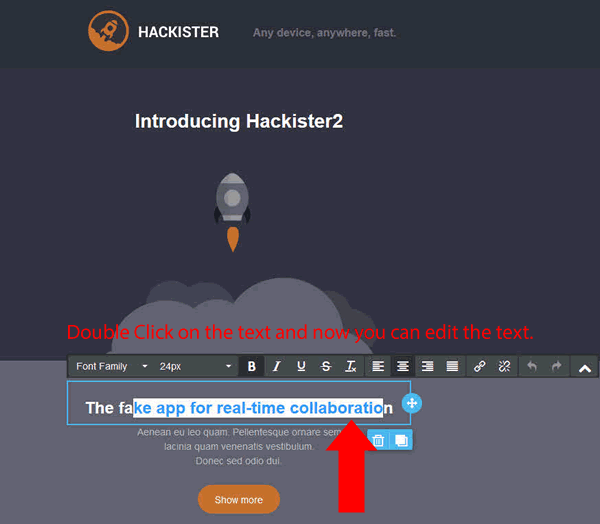
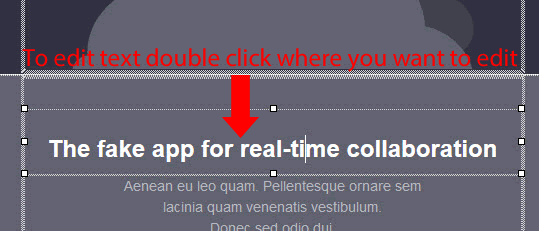
The text editor is easy to use to modify the text to whatever you need. Just double click on the text and an editing bar will show up.
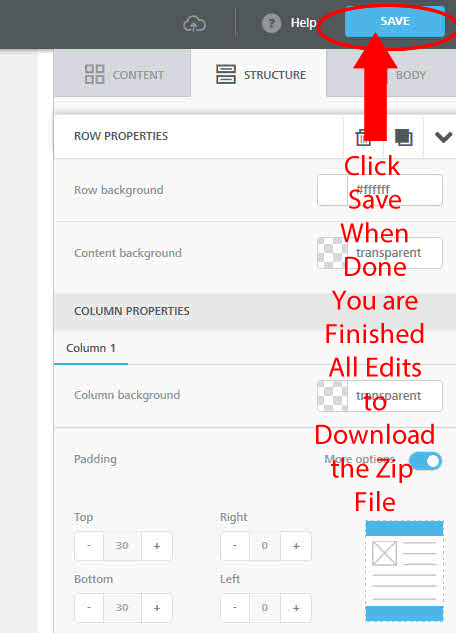
Once you have created your template and is complete then click save and a download box will popup. (FireFox but any other browser will give you an option for saving the download file.)
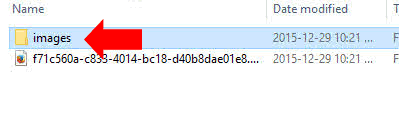
The File that will be downloaded will be a zipped file that will have the images and the html code.
Download Pop up box.
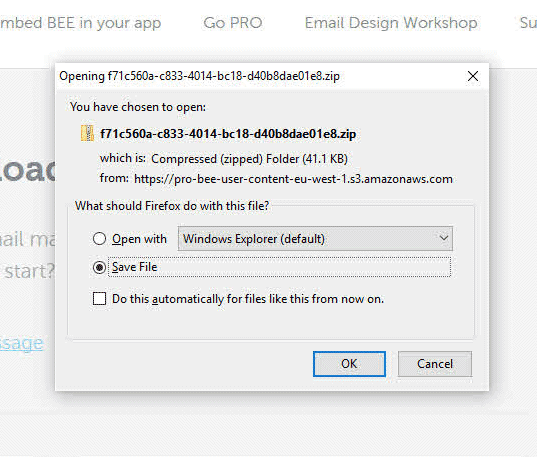
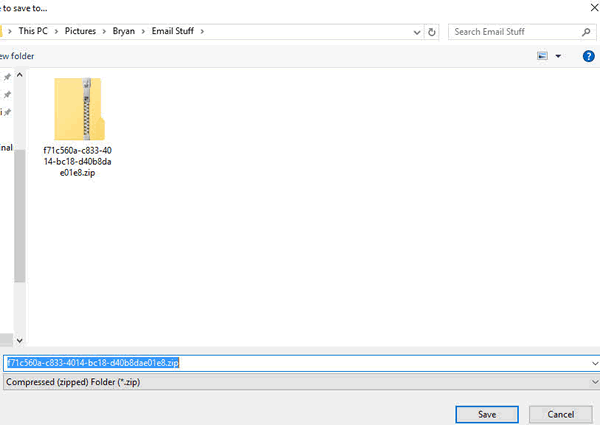
Save the file to a location you can remember.
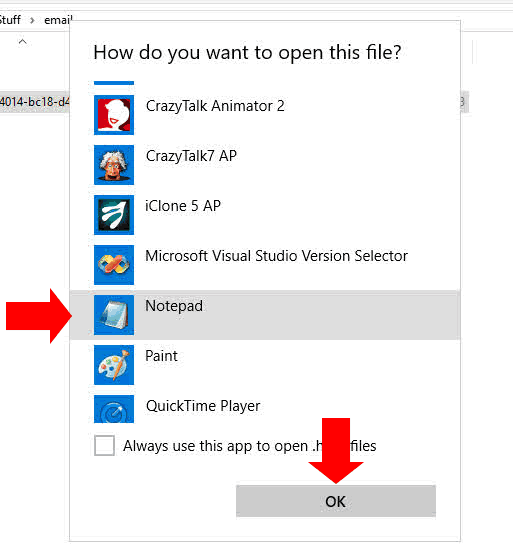
When you have unzipped the files the next step will be to get the code for the Power Lead System. To do that right mouse click on the file. Roll over Open with then Choose another application.
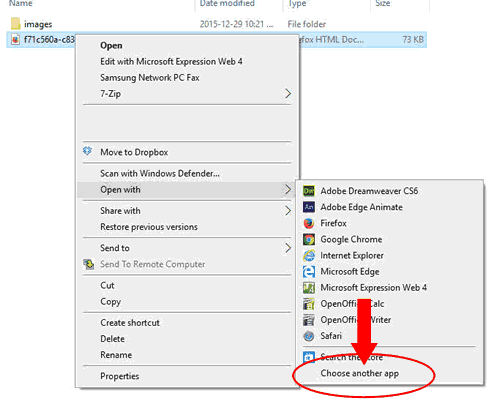
Choose Notepad that program makes it simple to copy and paste the code.
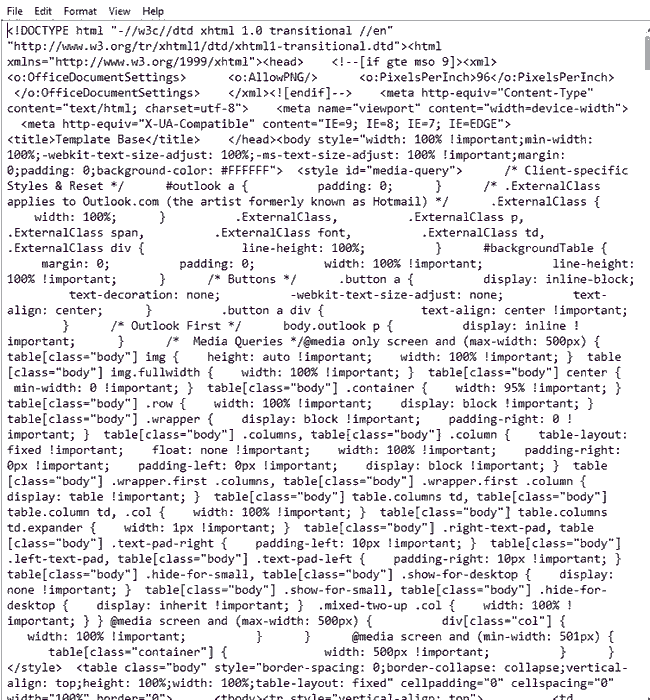
The code will look like this so hold down “Control A” (select all) then “Control C” (copies the code).
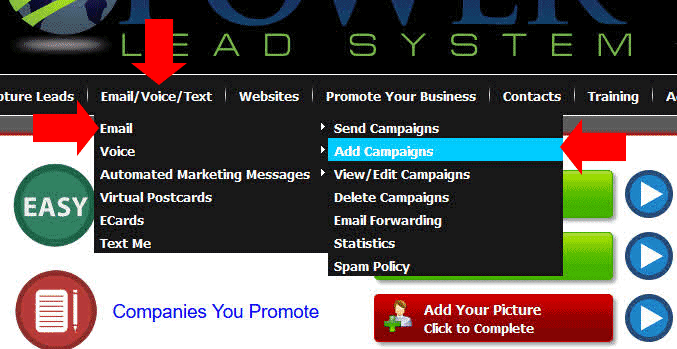
Now go to the Power Lead System’s back office http://www.mycompanyadmin.com
Roll over Email/Voice/Text then Email then Add Campaigns click on that.
Here is also a video on how to add and copy Campaigns (This is Auxiliary information if you are not familiar with this section)
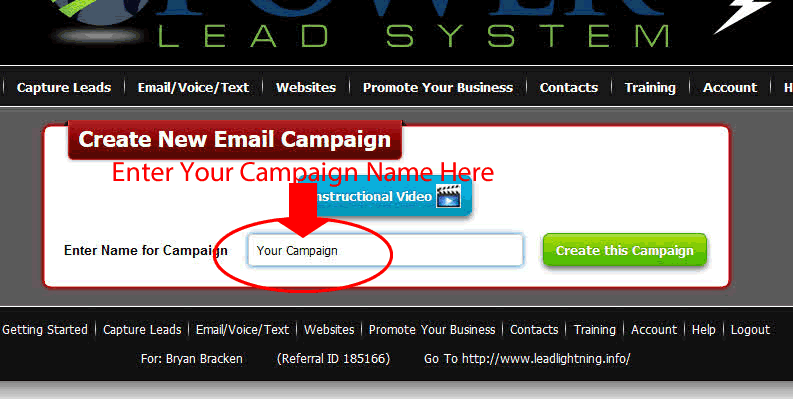
You are going to create a Campaign. Enter the campaign name you are going to use. Now click CREATE THIS CAMPAIGN.
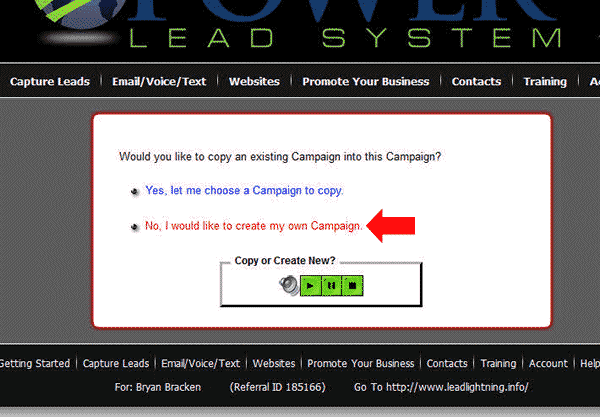
On the next screen click the “NO I would like to create my own Campaign” Link.
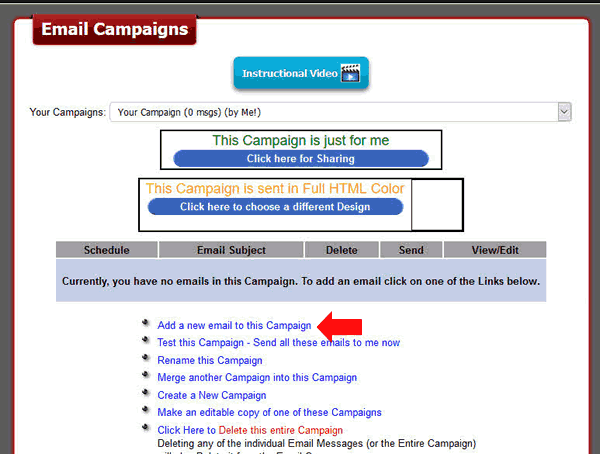
No on this screen you want to Click the Link “Add a new email to this Campaign.
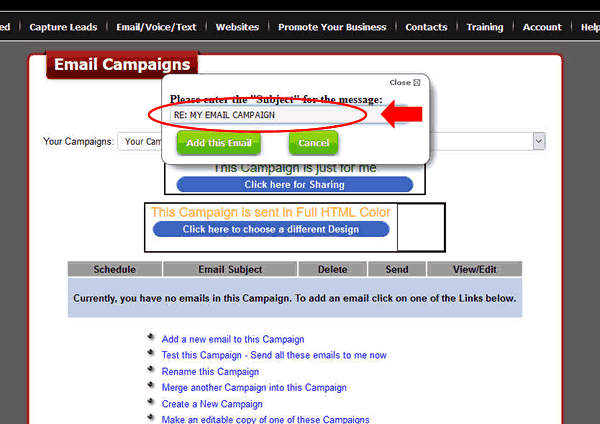
On the popup enter the Subject for the email message.
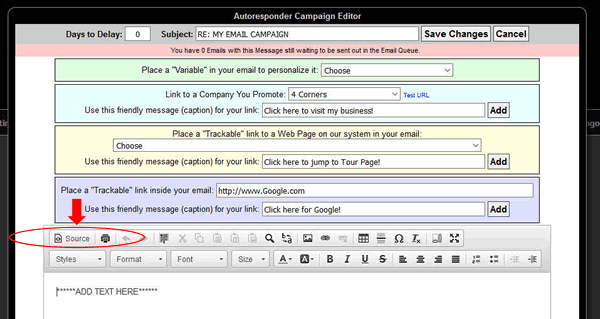
When you have done that you are now in the editor for editing and creating the email.
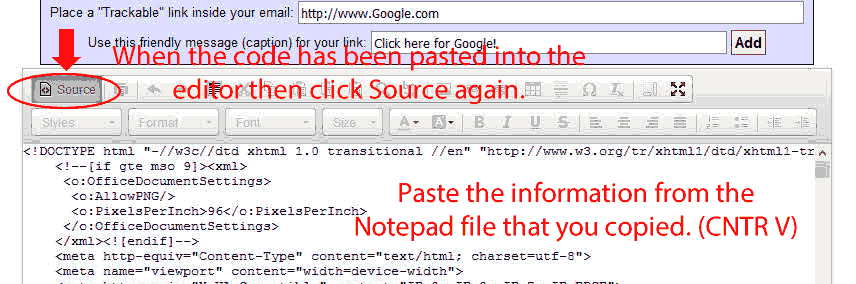
Click on the Source Button.
On that screen delete what is in the code so the editing section is blank.
Now Paste the code you copied from Notepad “Control V” (Paste).
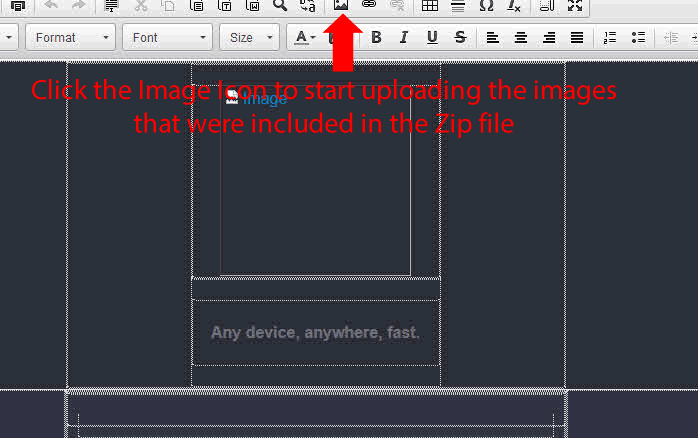
The next step is adding all the images from the zipped file.
Here is a video on how to add images within the Power Lead System (Auxiliary information)
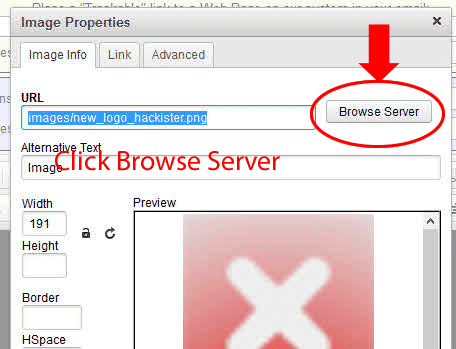
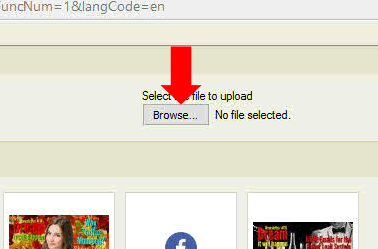
When you click the image icon a box will pop up.
Click Browse Server.
In the My Library folder you can add folders and files. Go to one of the folders or just click on My Library and put the images in that folder.
Now click Upload.
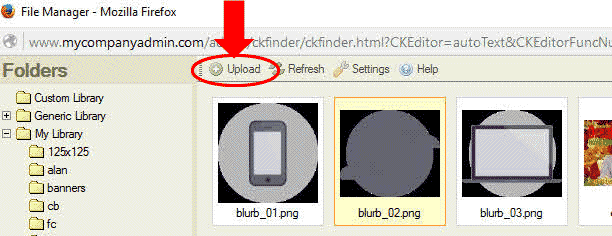
Browse to the folder that has the images for the template. And select an image. Sorry you can only upload one file at a time.
Example below.
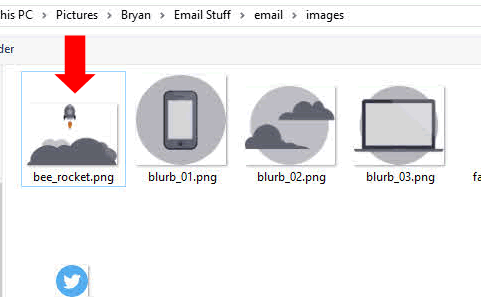
Now that you have selected the photo and clicked open (or double click on the image will do the same thing).
Find UPLOAD SELECTED FILE. CLICK.
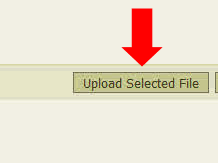
Now you should see the image in the folder.
Do the same process until all the images are in the same folder.
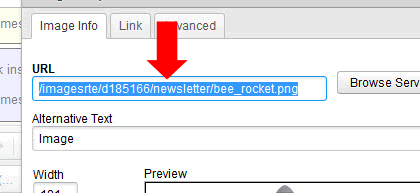
When done then double click on one of the images and a box will pop up.
Copy the image location so we can update the code.
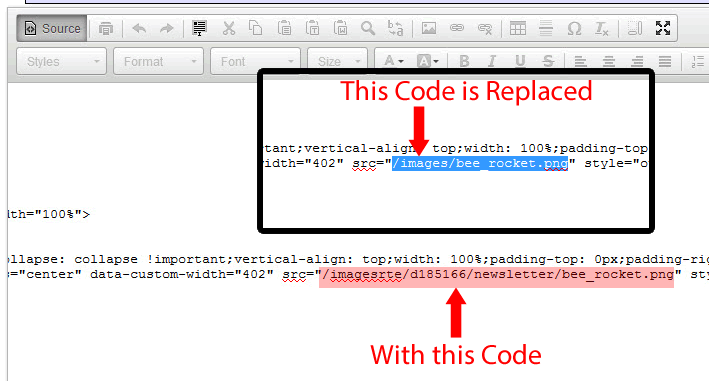
Take note of the first part of the link. Example: /imagerte/d185166/newsletter/ this will be different for every person and depends on the directory you put it in.
That is a tip to make things quicker when you are looking for the code in the source.
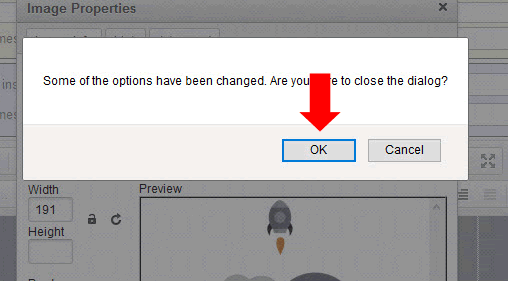
Click Cancel on this box.
Some of the Options have been changed. Are you sure to close the dialog? Click OK
Go back to source. Do a search for /images/. Paste the first part of the copied code Example /imagerte/d185166/newsletter/ to replace /images/
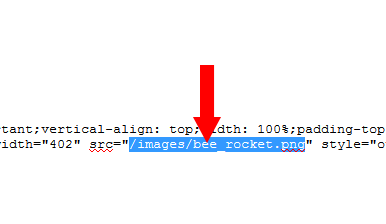
Example Below.
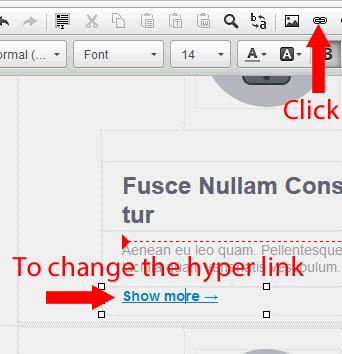
Example of a hyperlink click the text you want to be a hyperlink then click the chain on the bar.
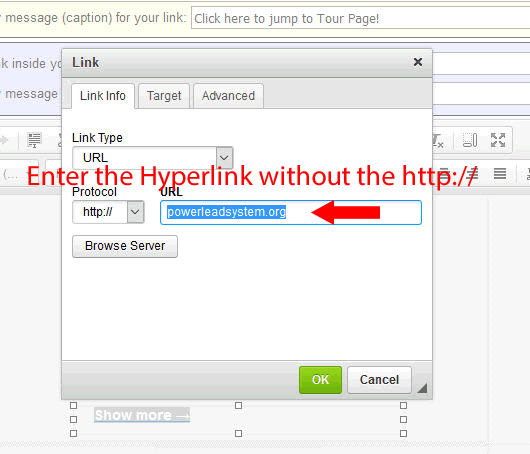
Enter in your link without the http://
To edit the text double click where you want to start to edit and change the text to what you want.
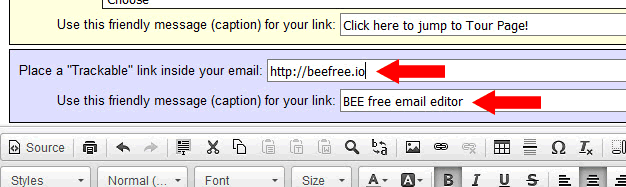
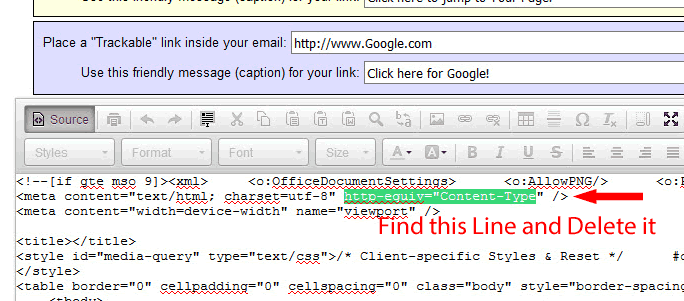
To create a trackable link click the location you want the link to be in your email enter the URL in the box “Place a “Trackable” link inside your email:” and put the caption for the link in the box with the line beside it “Use this friendly message (caption) for your link:” then click Add.
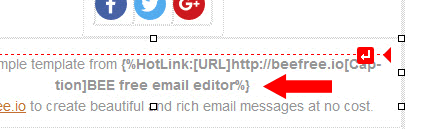
Here is what the code looks like for your trackable link.
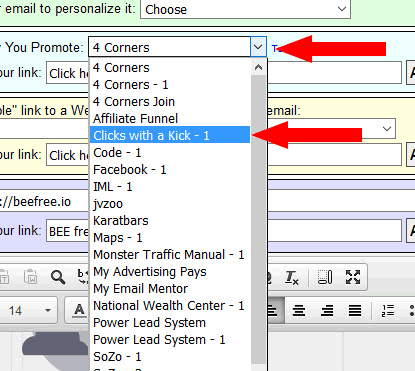
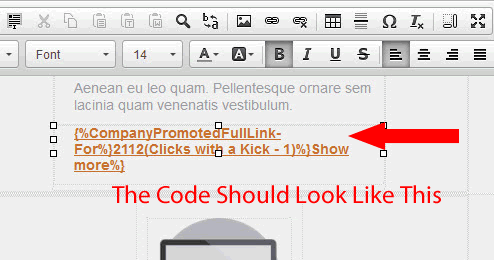
Now to add a company you promote. Select a company like “Clicks with a Kick – 1” from the drop down.
Put a caption for the link like: “Show More” then click Add
The link should look something like the below image.
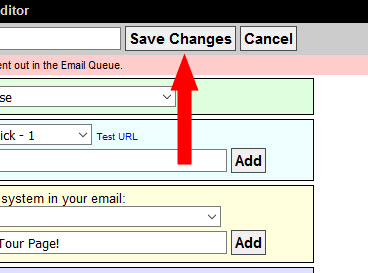
When you have finished your email and think it is done now you need to test the email to see if everything is good.
Click “Save Changes”
Video on How to send a broadcast to test the page you created. This is Auxiliary information.
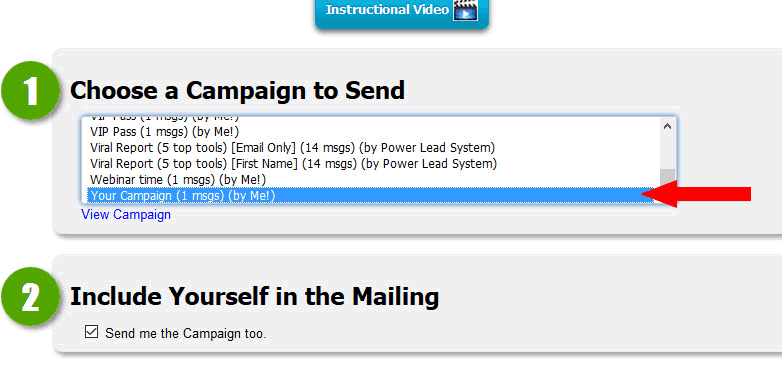
Now we are going to send a test email.
You will need to remember the name of the campaign you just created. Select it from the drop down.
Make sure #2 is selected in Include yourself in the Mailing. DO NOT ADD ANY OTHER EMAIL ADDRESSES. This is a test only.
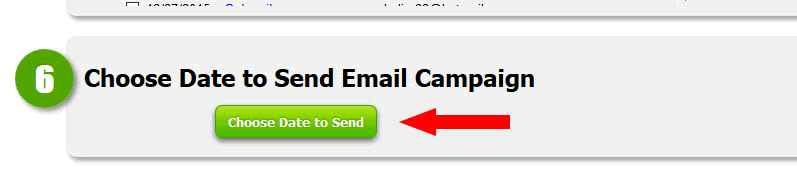
At the bottom of the page click “Choose Date to Send”
On the next screen note that there is only 1 email to send. Select the domain you want to send the email under from the drop down.
Follow the instructions and when done click: “Send a total of # emails” .
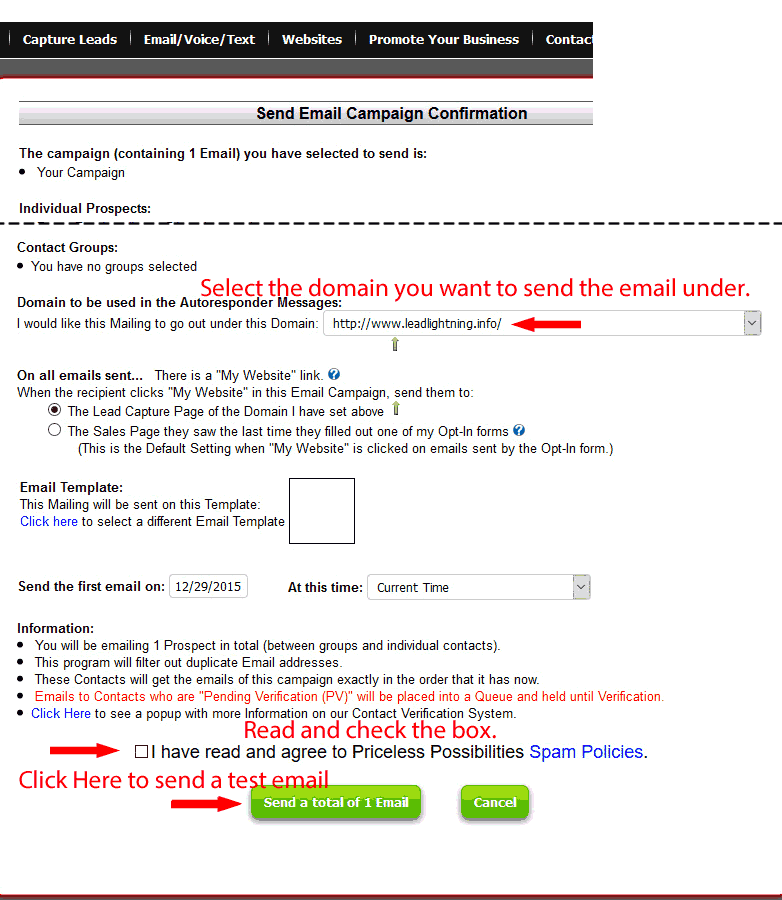
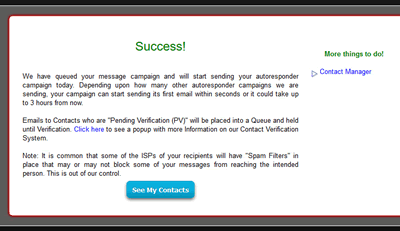
The next screen shows that you email/emails have been queued to be sent.
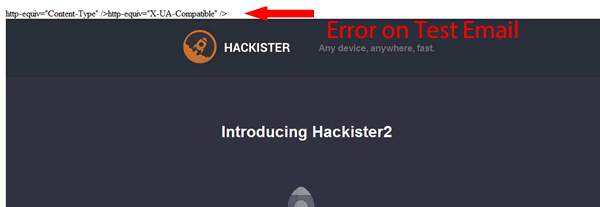
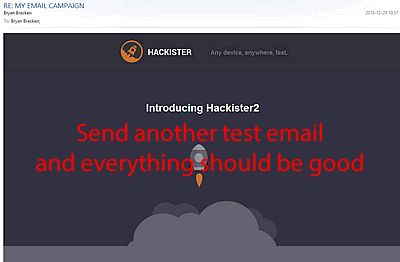
When you receive your email check it out you may see an ERROR. Like the below image.
In the code from the template you may have two lines that will need to be removed.
Go back to the editor but this time go to: View / Edit Campaigns.
Select your campaign that you want to edit.
Go to the source.
Find <meta content=”IE=9; IE=8; IE=7; IE=EDGE” http-equiv=”X-UA-Compatible” /> and delete this line.
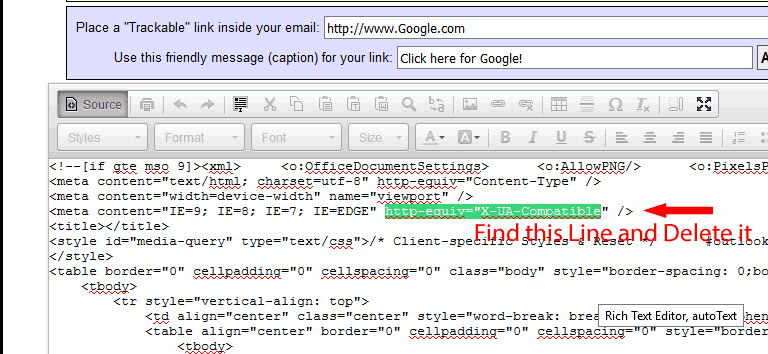
Find <meta content=”text/html; charset=utf-8″ http-equiv=”Content-Type” /> and delete that line.
Now retest the campaign. Everything should be good now.
I would appreciate it if you share this with your team. Please also like this page on Facebook if you found it of use.
To see the sample email fill out the form at http://sample-email.powerleadsystem.info/
